When it comes to critical parts, what you cannot see can be the most dangerous.
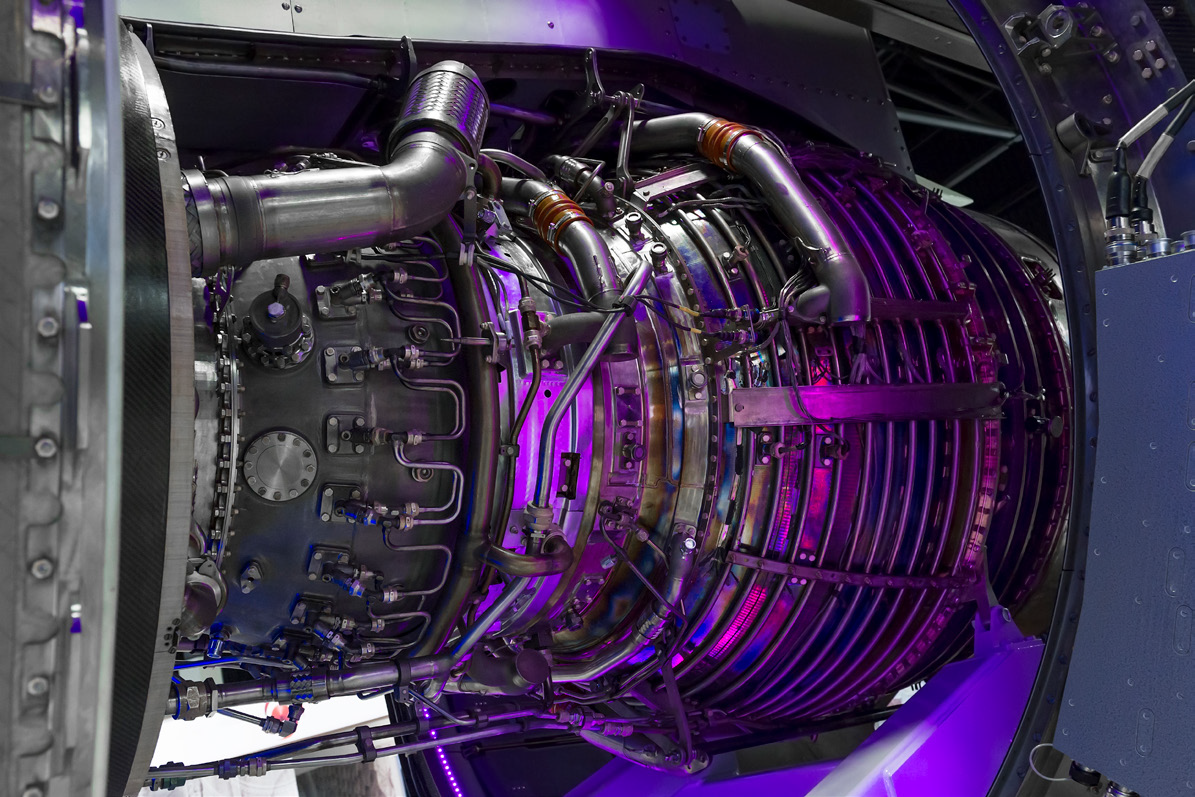
In 2018, a commercial aircraft experienced a mid-flight engine failure. After investigation, a hairline crack thinner than a human hair was found. The crack had gone unnoticed during standard visual inspections. This failure could have been prevented with proper UV inspection, a non-destructive testing (NDT) method that reveals defects invisible to the naked eye.
UV inspection uses ultraviolet (UV-A) light, often in combination with fluorescent dyes or magnetic particles, to highlight microscopic cracks, contamination, or structural flaws. It is a trusted quality control method in aerospace, automotive, manufacturing, and oil and gas industries.
Why UV Inspection Matters
Invisible defects can lead to:
- Expensive product recalls and warranty claims
- Serious safety hazards for operators and customers
- Unexpected downtime and production delays
- Regulatory compliance problems
By catching flaws early, UV inspection prevents failures, protects workers, and safeguards your reputation.
How UV Inspection Works
There are two primary UV inspection methods, each suited to different materials and types of defects.
1. Liquid Penetrant Testing (PT) – Surface Crack Detection
Best for: non-porous materials such as metals, ceramics, and plastics
Defects found: Surface-breaking cracks as small as 0.001 inches (0.025 mm)
Process:
- Clean the surface thoroughly
- Apply fluorescent penetrant and allow it to dwell (5–60 minutes)
- Remove excess penetrant
- Apply developer to draw penetrants back to the surface
- Inspect under UV-A light to locate glowing defect indications
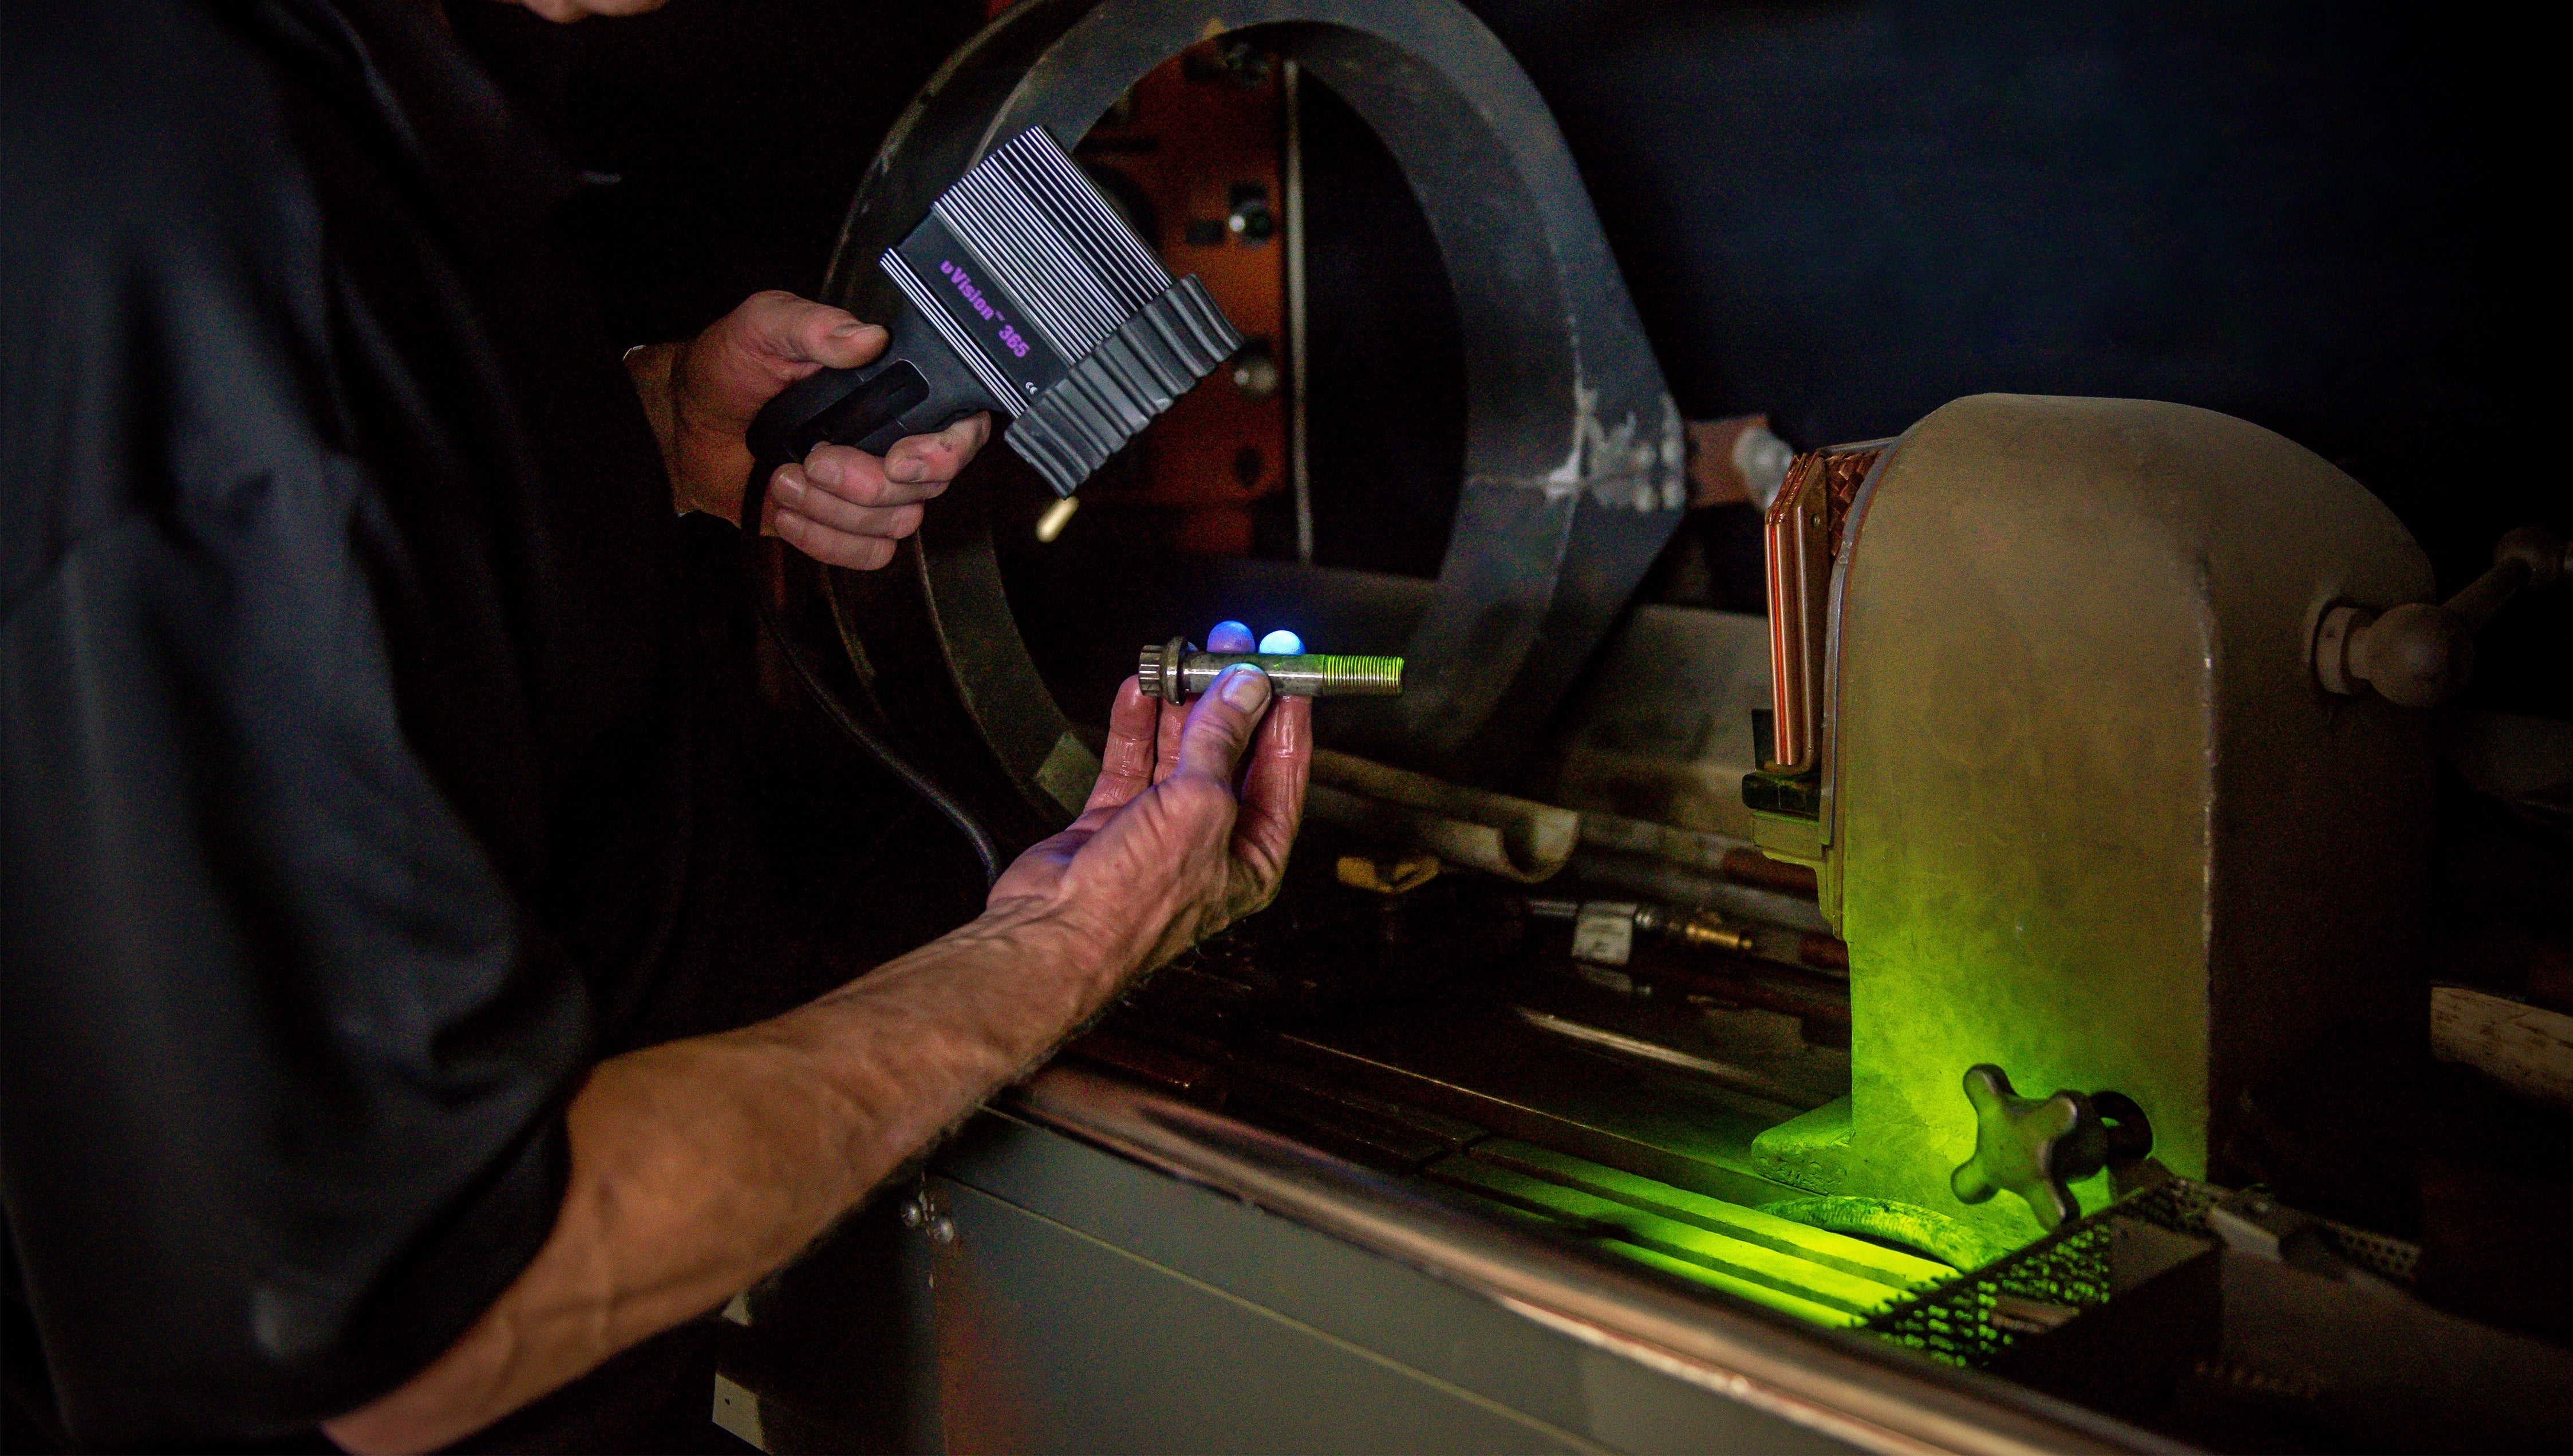
2. Magnetic Particle Testing (MT) – Surface and Near-Surface Detection
Best for: Ferrous metals such as steel, iron, and nickel
Defects found: Surface and near-surface flaws up to 6 mm deep
Process:
- Magnetize the part
- Apply fluorescent magnetic particles
- Field disruptions from defects cause particles to cluster
- Inspect under UV-A light to reveal defective locations
- Demagnetize the part after inspection
Industries That Depend on UV Inspection
Aerospace – Detect cracks in turbine blades, landing gear, wing attachment points, and welds.
Automotive – Inspect engine blocks, brake parts, transmission components, and chassis welds.
Manufacturing – Check weld integrity, coating adhesion, and part functionality.
Oil and Gas – Identify corrosion, stress cracking, and valve body integrity problems.
Choosing the Right Method
|
Factor |
Liquid Penetrant (PT) |
Magnetic Particle (MT) |
|
Material Type |
All non-porous materials |
Ferrous metals only |
|
Defect Location |
Surface only |
Surface and near-surface |
|
Sensitivity |
Extremely high for surface cracks |
High for surface and subsurface |
|
Speed |
Slower (requires dwell time) |
Faster for large areas |
|
Portability |
Highly portable |
Requires magnetization equipment |
|
Cost |
Lower initial cost |
Higher equipment cost |
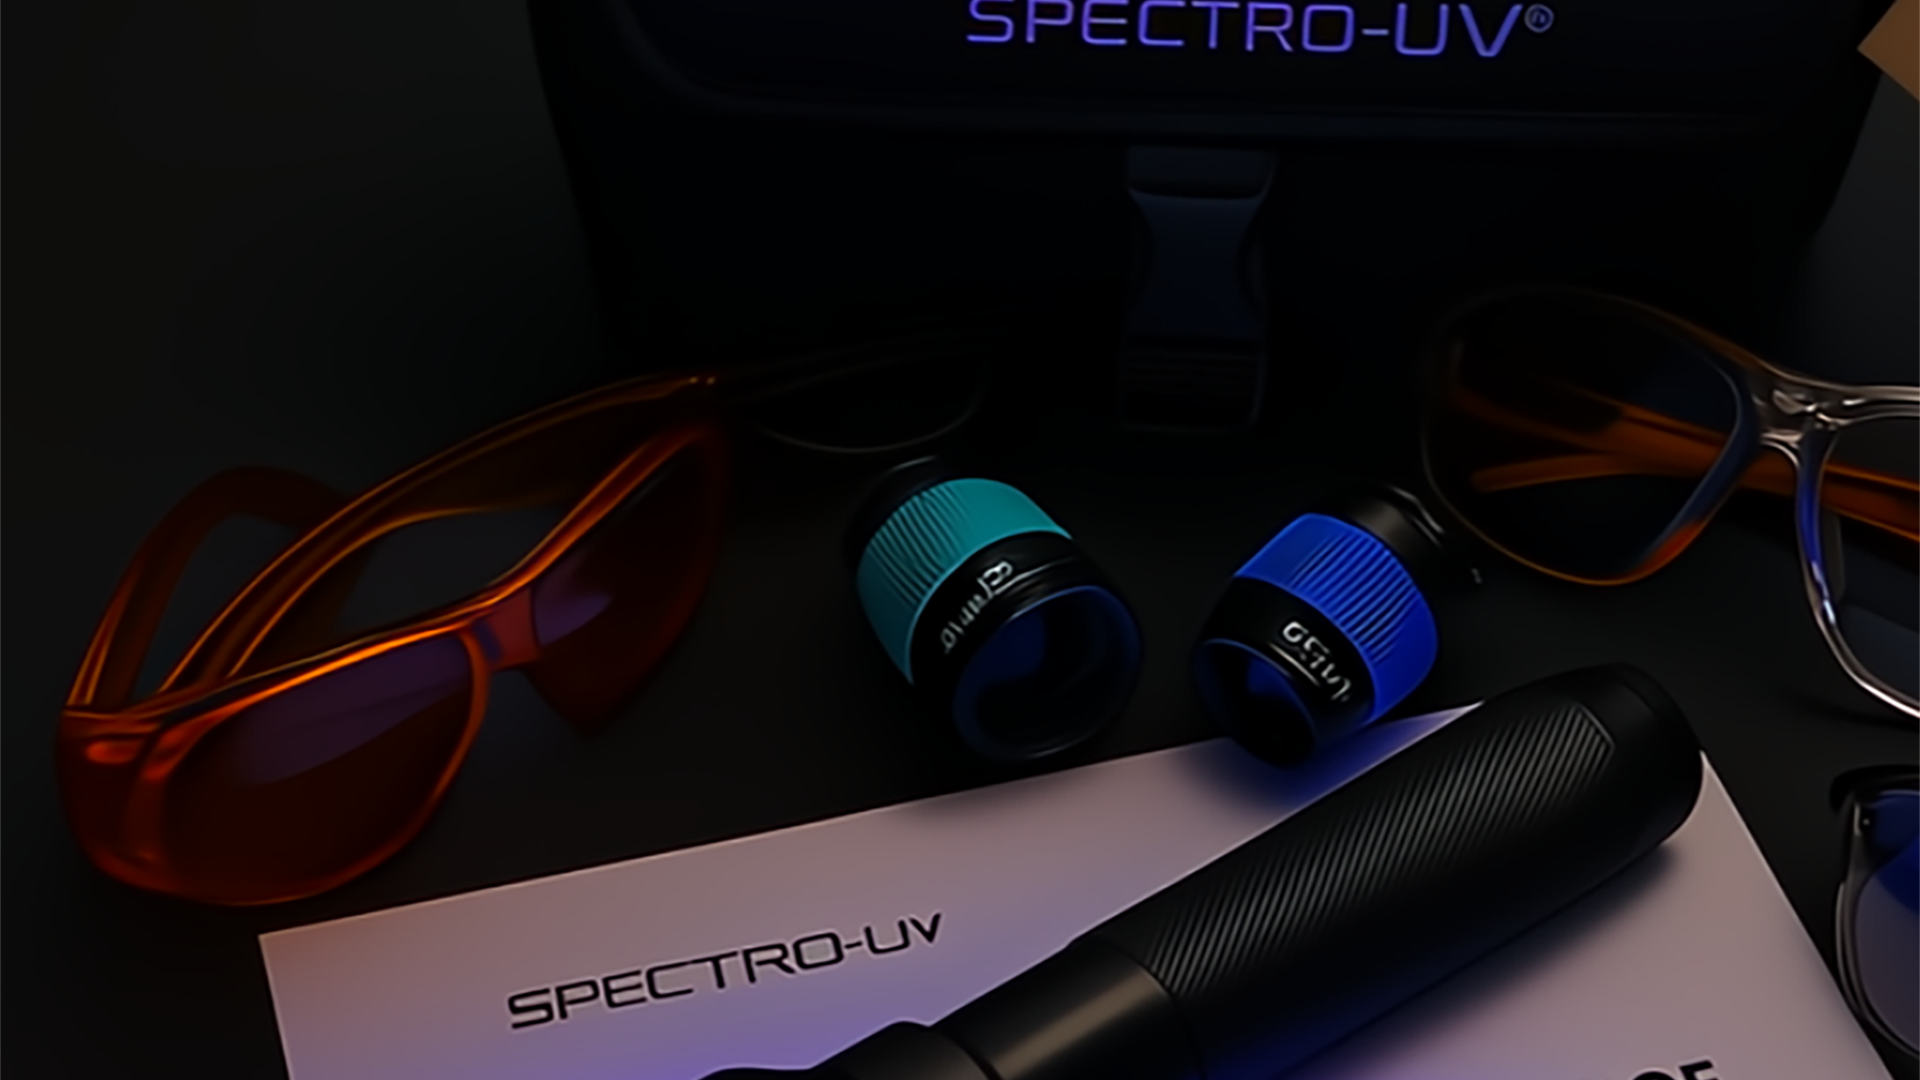
Essential UV Inspection Equipment
UV-A Inspection Lamp (365 nm)
- Meets ASTM E3022 for aerospace and critical applications
- Minimum 1,000 μW/cm² at 15 inches for most inspections
- Types include handheld, portable, overhead, and benchtop units
UV Radiometer
- Measures and verifies lamp intensity
- Ensures compliance and consistent inspection reliability
Testing Materials
For PT:
- Fluorescent penetrants
- Developer (wet or dry)
- Cleaner/remover solutions
For MT:
- Fluorescent magnetic particles
- Magnetization and demagnetization equipment
- Carrier fluids for wet methods
Industry Standards You Should Know
- ASTM E3022 – Requirements for LED UV-A lamps in PT and MT
- ASTM E165 – Standard practice for liquid penetrant examination
- ASTM E709 – Standard guide for magnetic particle testing
- ISO 3452 – International standard for penetrant testing
- ASME Boiler and Pressure Vessel Code Section V – NDE requirements
Avoiding Common UV Inspection Mistakes
- Poor surface preparation – Always clean thoroughly before inspection
- Low UV light intensity – Test with a radiometer regularly
- Incorrect dwell times – Follow product specifications exactly
- Too much ambient light – Keep below 20 lux for best visibility
- Inadequate training – Use certified, qualified inspectors
Safety Considerations
- Eye Protection: Wear UV-filtering safety glasses for 365 nm light
- Skin Protection: Limit exposure and wear protective clothing
- Chemical Safety: Handle penetrants and developers with gloves, ventilation, and proper PPE
- Electrical Safety: Ensure proper grounding and cooling for high-intensity lamps
The ROI of UV Inspection
Benefits include:
- Preventing catastrophic failures that can cost millions
- Reducing warranty claims
- Supporting condition-based maintenance
- Maintaining compliance and customer trust
Getting Started with UV Inspection
- Assess your materials, defect types, and inspection frequency
- Select the right method for your needs
- Choose compliant equipment
- Train and certify operators
- Establish documented inspection procedures
Partner with Spectro-UV
Spectro-UV offers industry-leading UV inspection lamps, radiometers, and accessories that meet or exceed ASTM standards. Our technical experts can help you select the right equipment for your application.
Contact Us Today:
Phone: (866) 230-7305
Email: sales@spectro-uv.com
1 comment
Jim Deardorff
I recommend you include black light activated coating in your product data sheets.
I can send you pictures.
Leave a comment
This site is protected by hCaptcha and the hCaptcha Privacy Policy and Terms of Service apply.